
PremAligner Detailed Instructional Video

PremAligner Quick Set-up Video

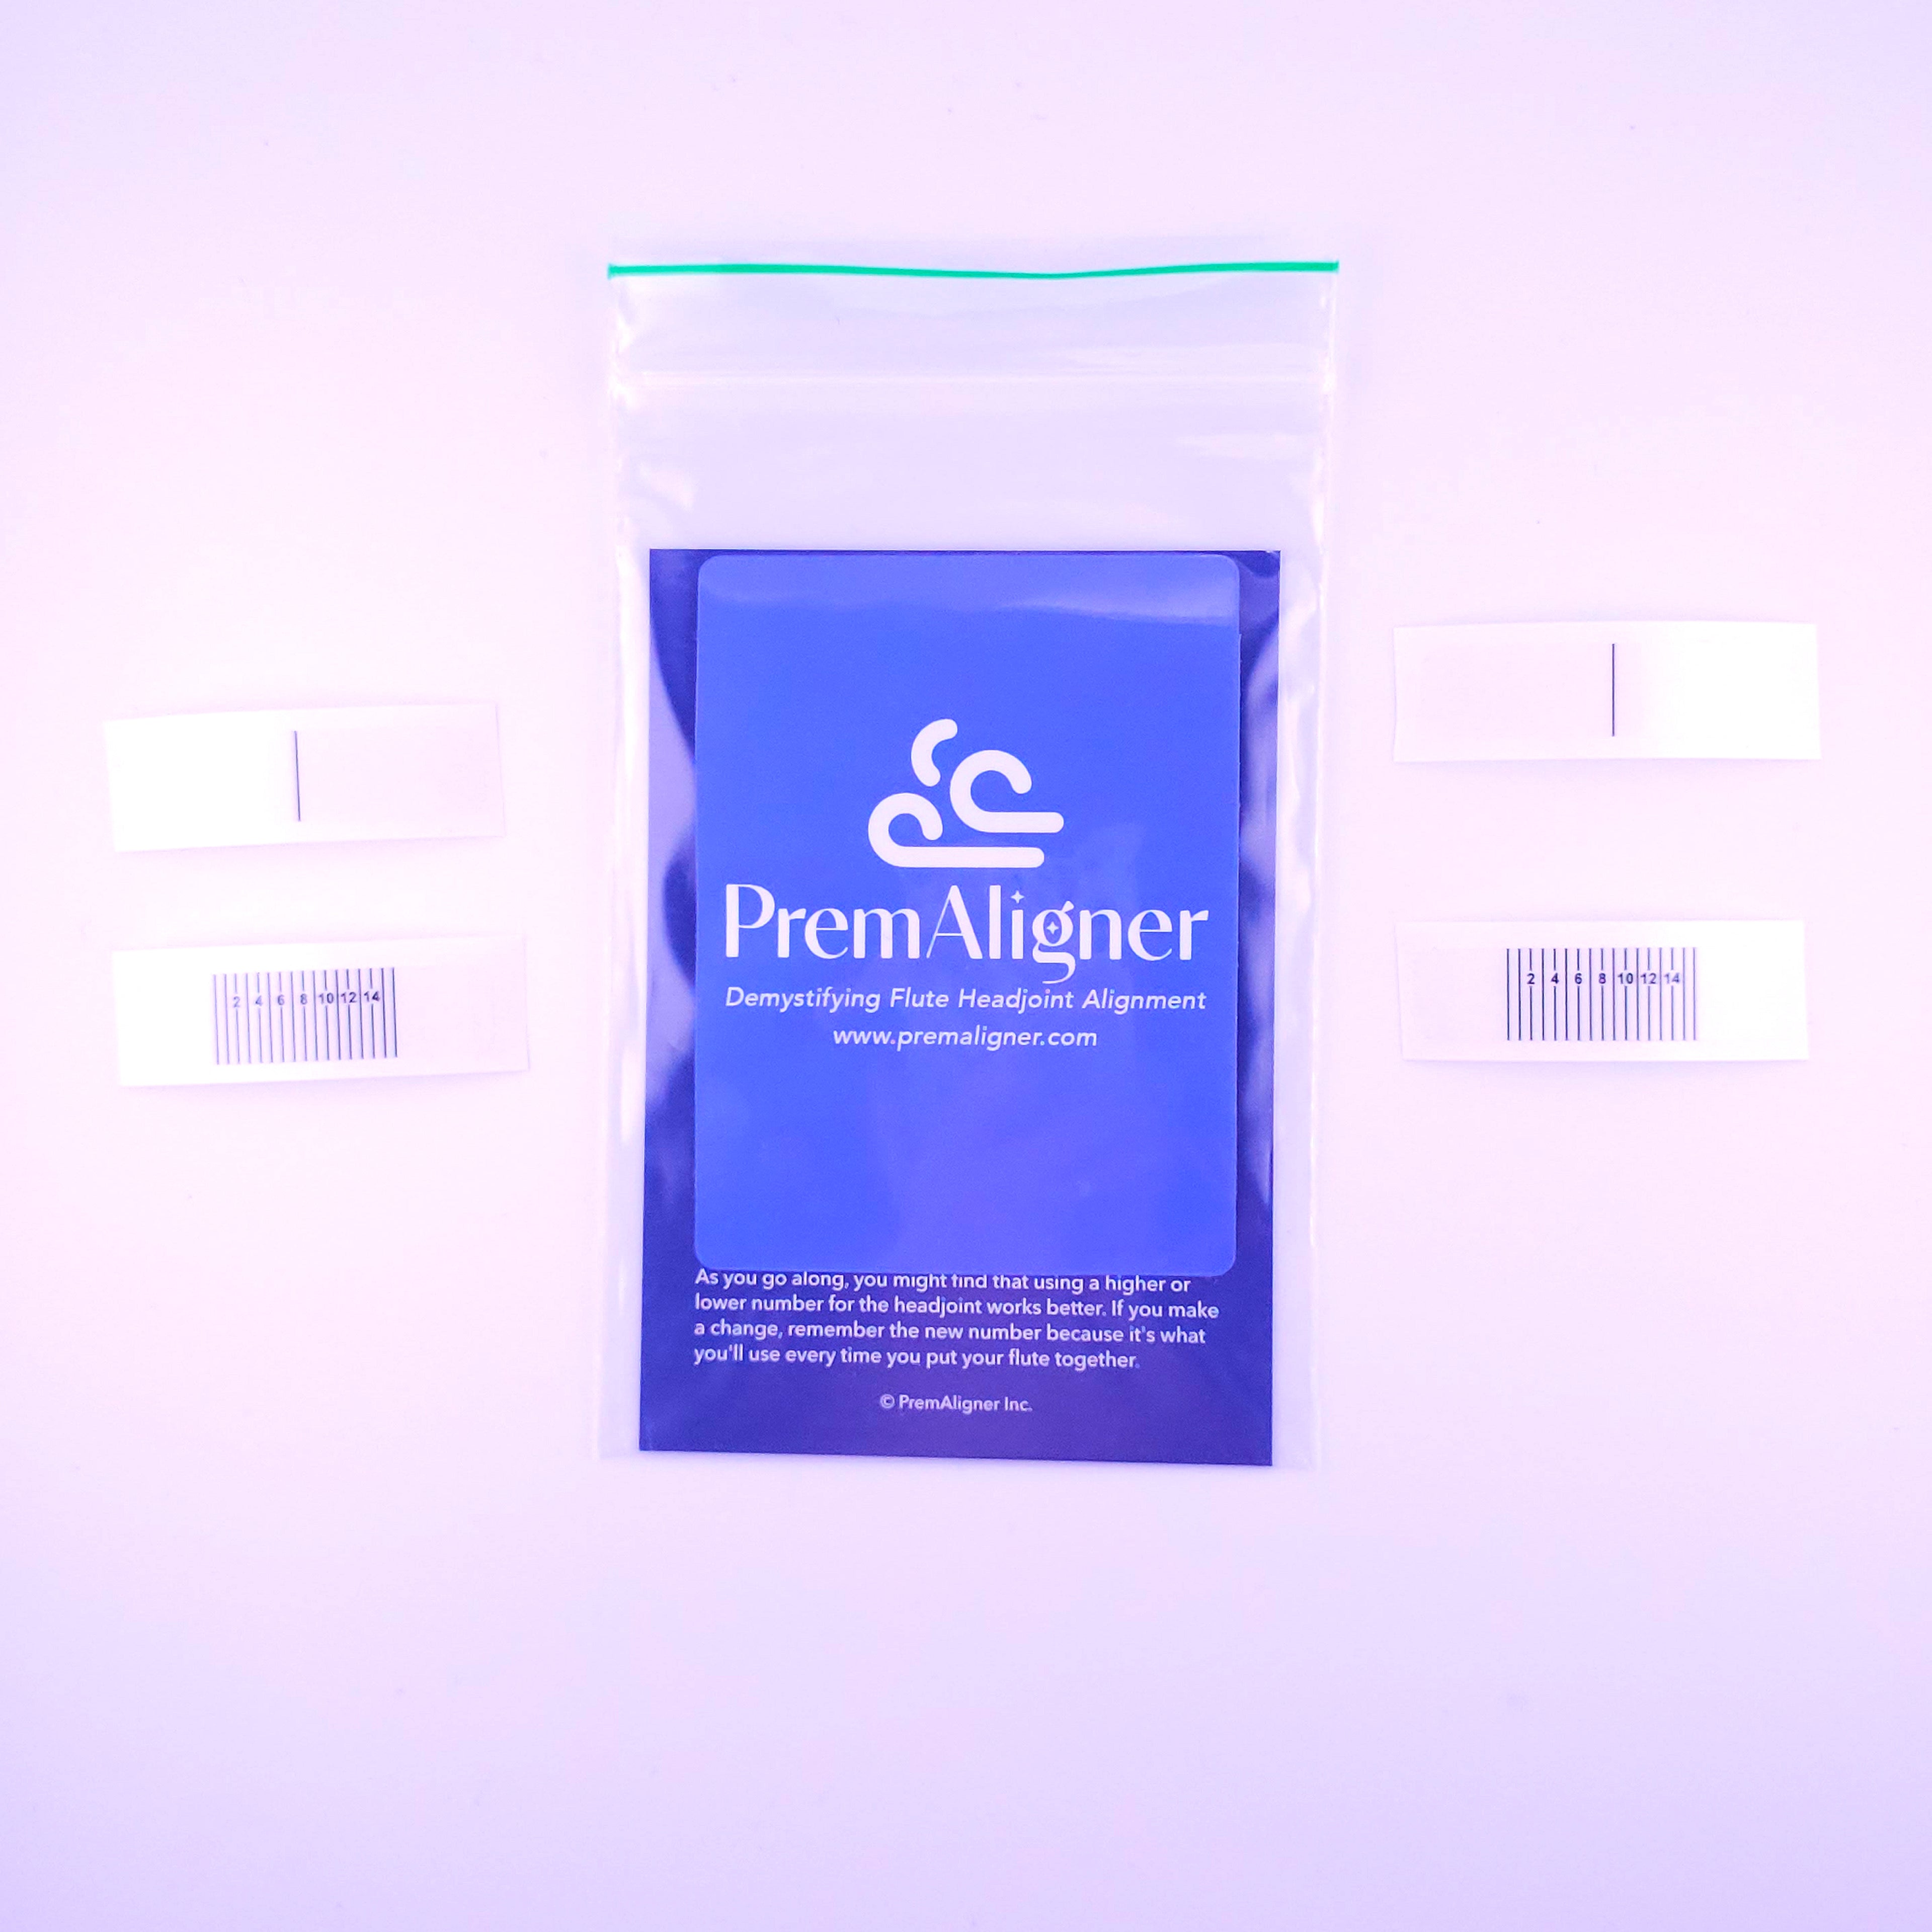
PremAligner Instructions
Step One
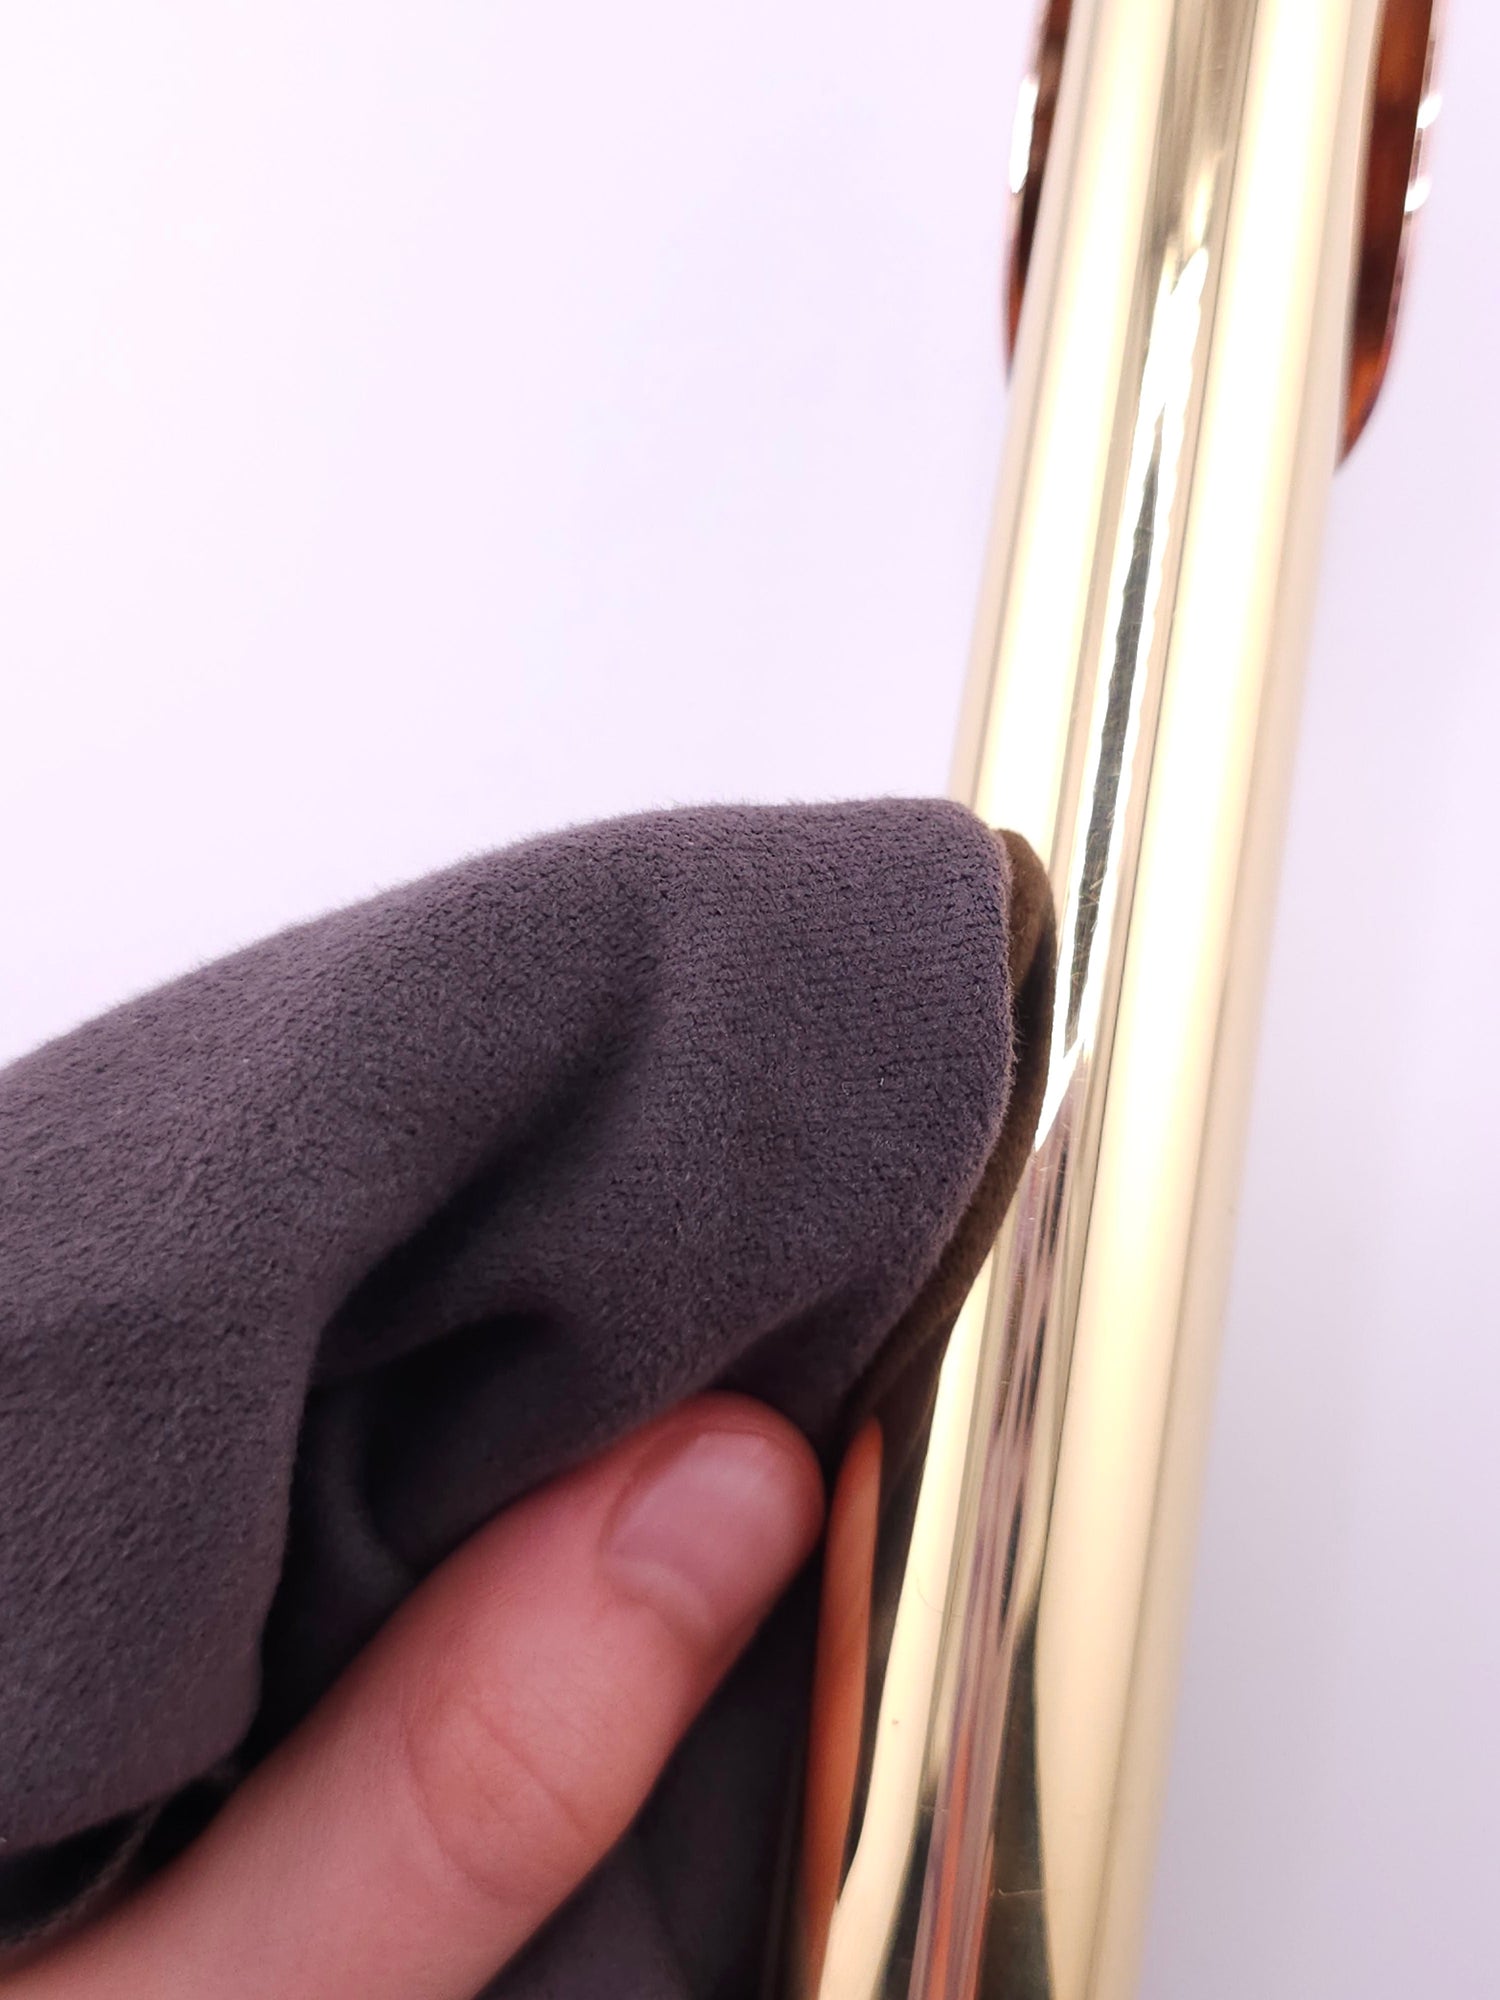
Clean the barrel and headjoint thoroughly to remove dirt and oils.
Step Two
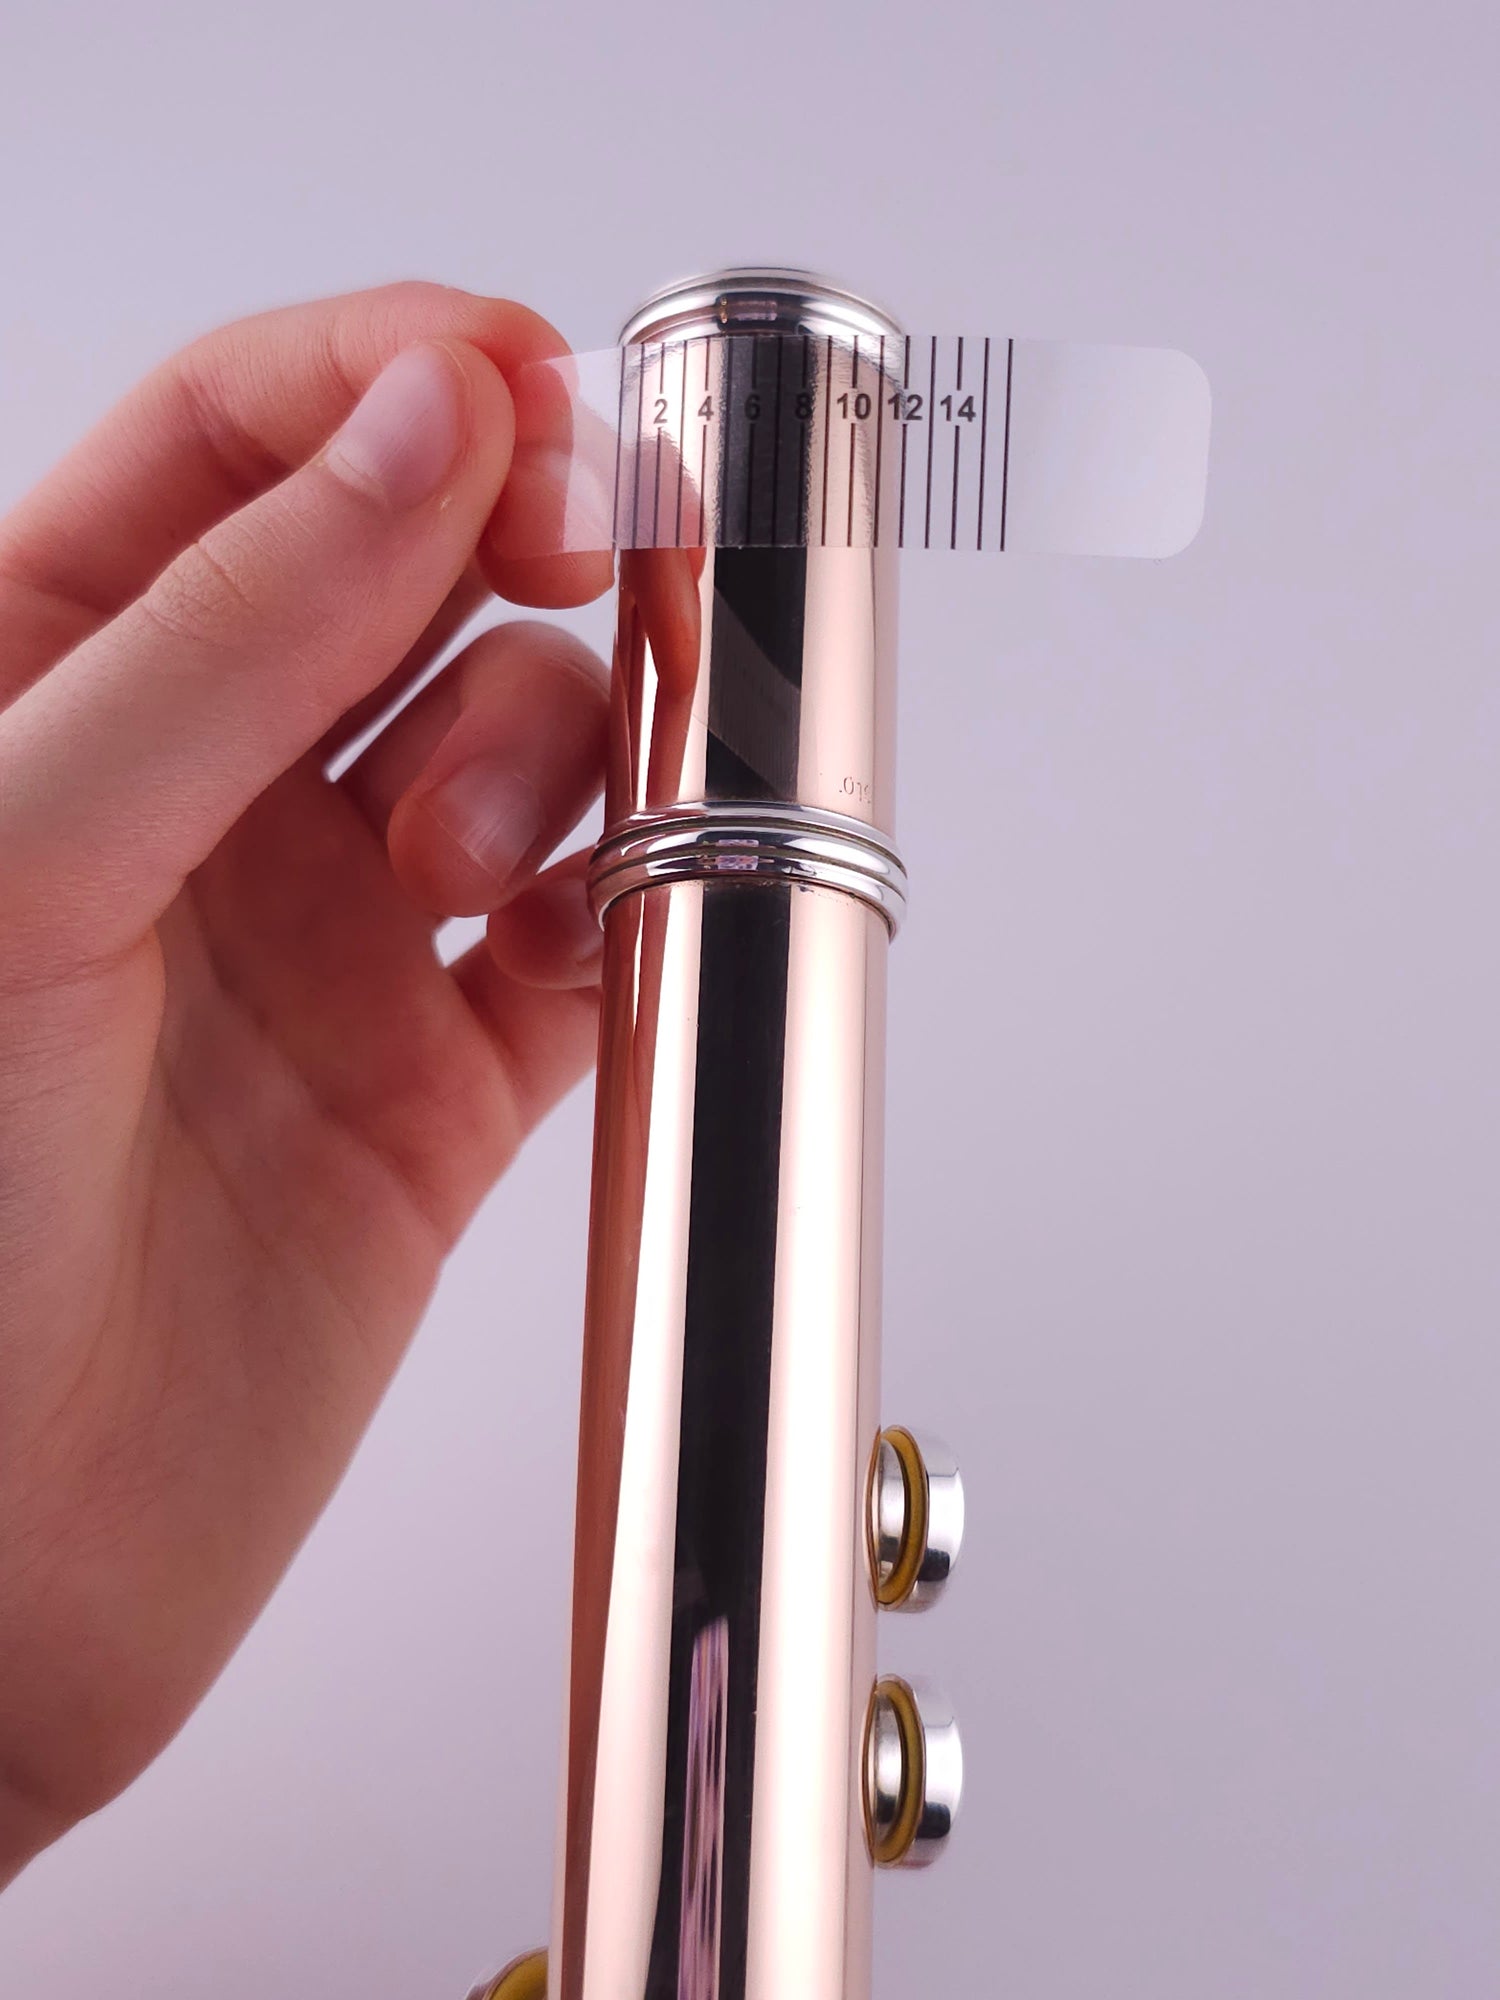
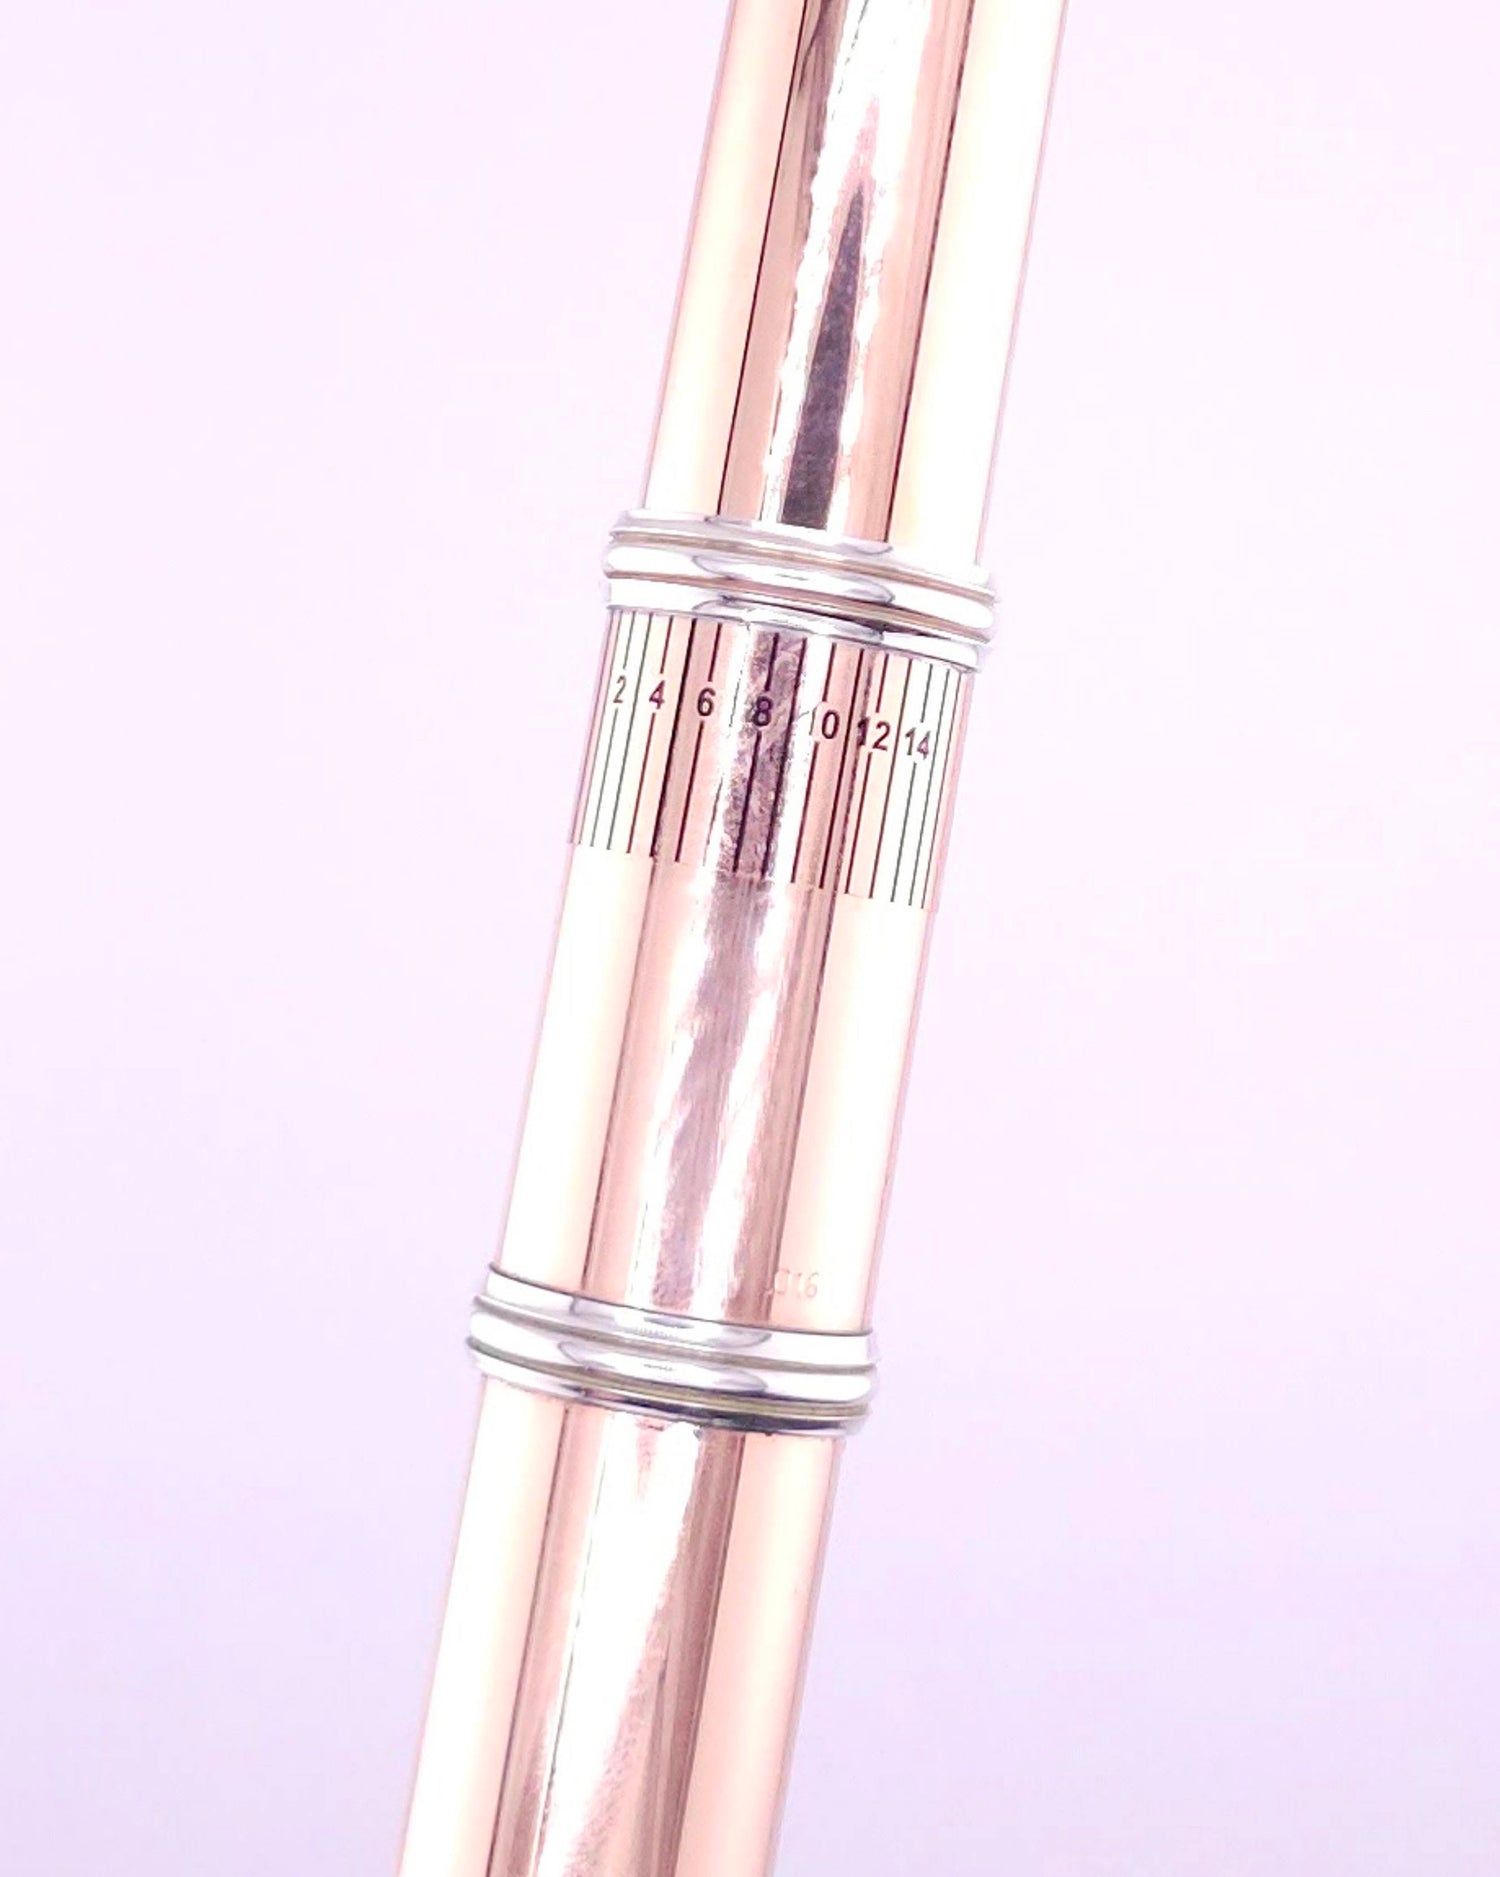
Begin by placing the sixteenth of an inch measurement label on the underside of the body of the flute barrel as shown.
Next, insert the headjoint completely into the body. Then line up the headjoint with the body of the flute as desired, either by yourself or with your teacher's help.

Step Three
Once everything is positioned, place the indicator label on the underside of the headjoint, and make sure it lines up with the number 8 on the measurement label. Number 8 is the middle one. As you go along, you might find that using a higher or lower number for the headjoint works better. If you make a change, remember the new number because it's what you'll use every time you put your flute together.
PremAligner Detailed Instructions
Step 1
First, clean the barrel (the top portion of the flute body) and headjoint of your flute thoroughly with a lint free cloth, to remove dirt and oils.
Step 2
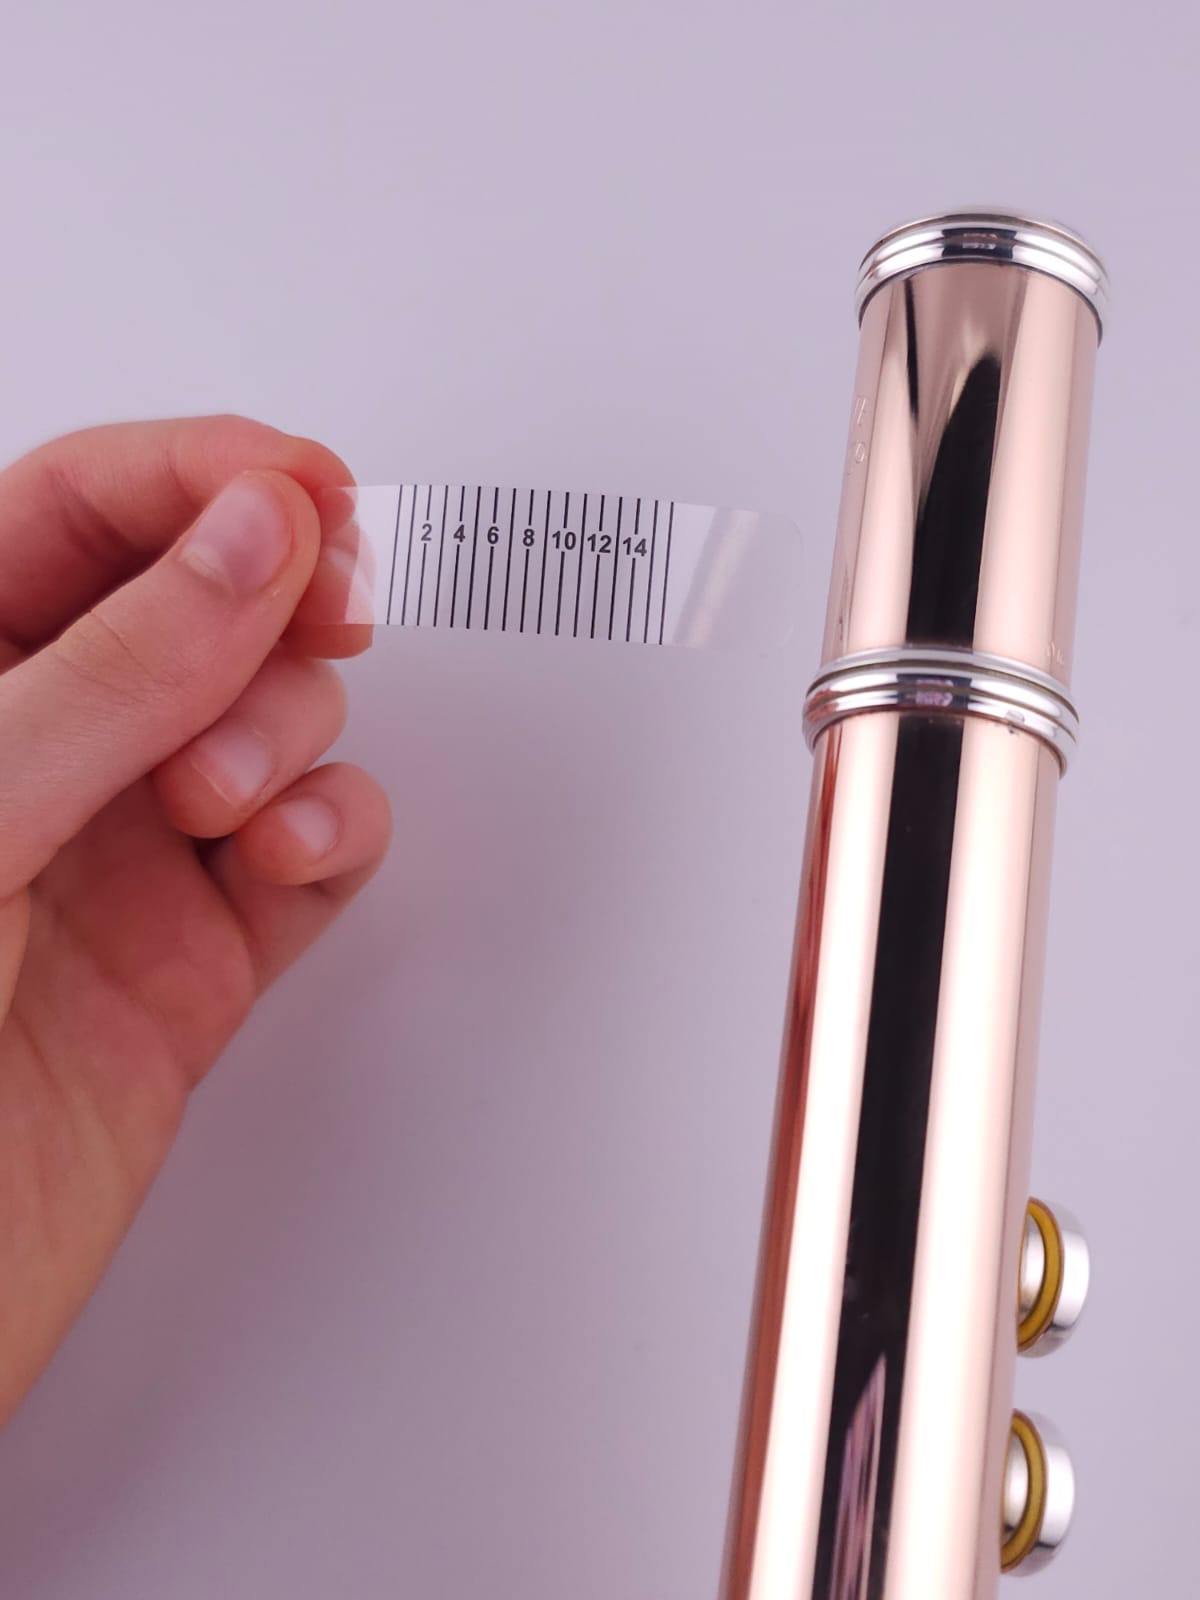
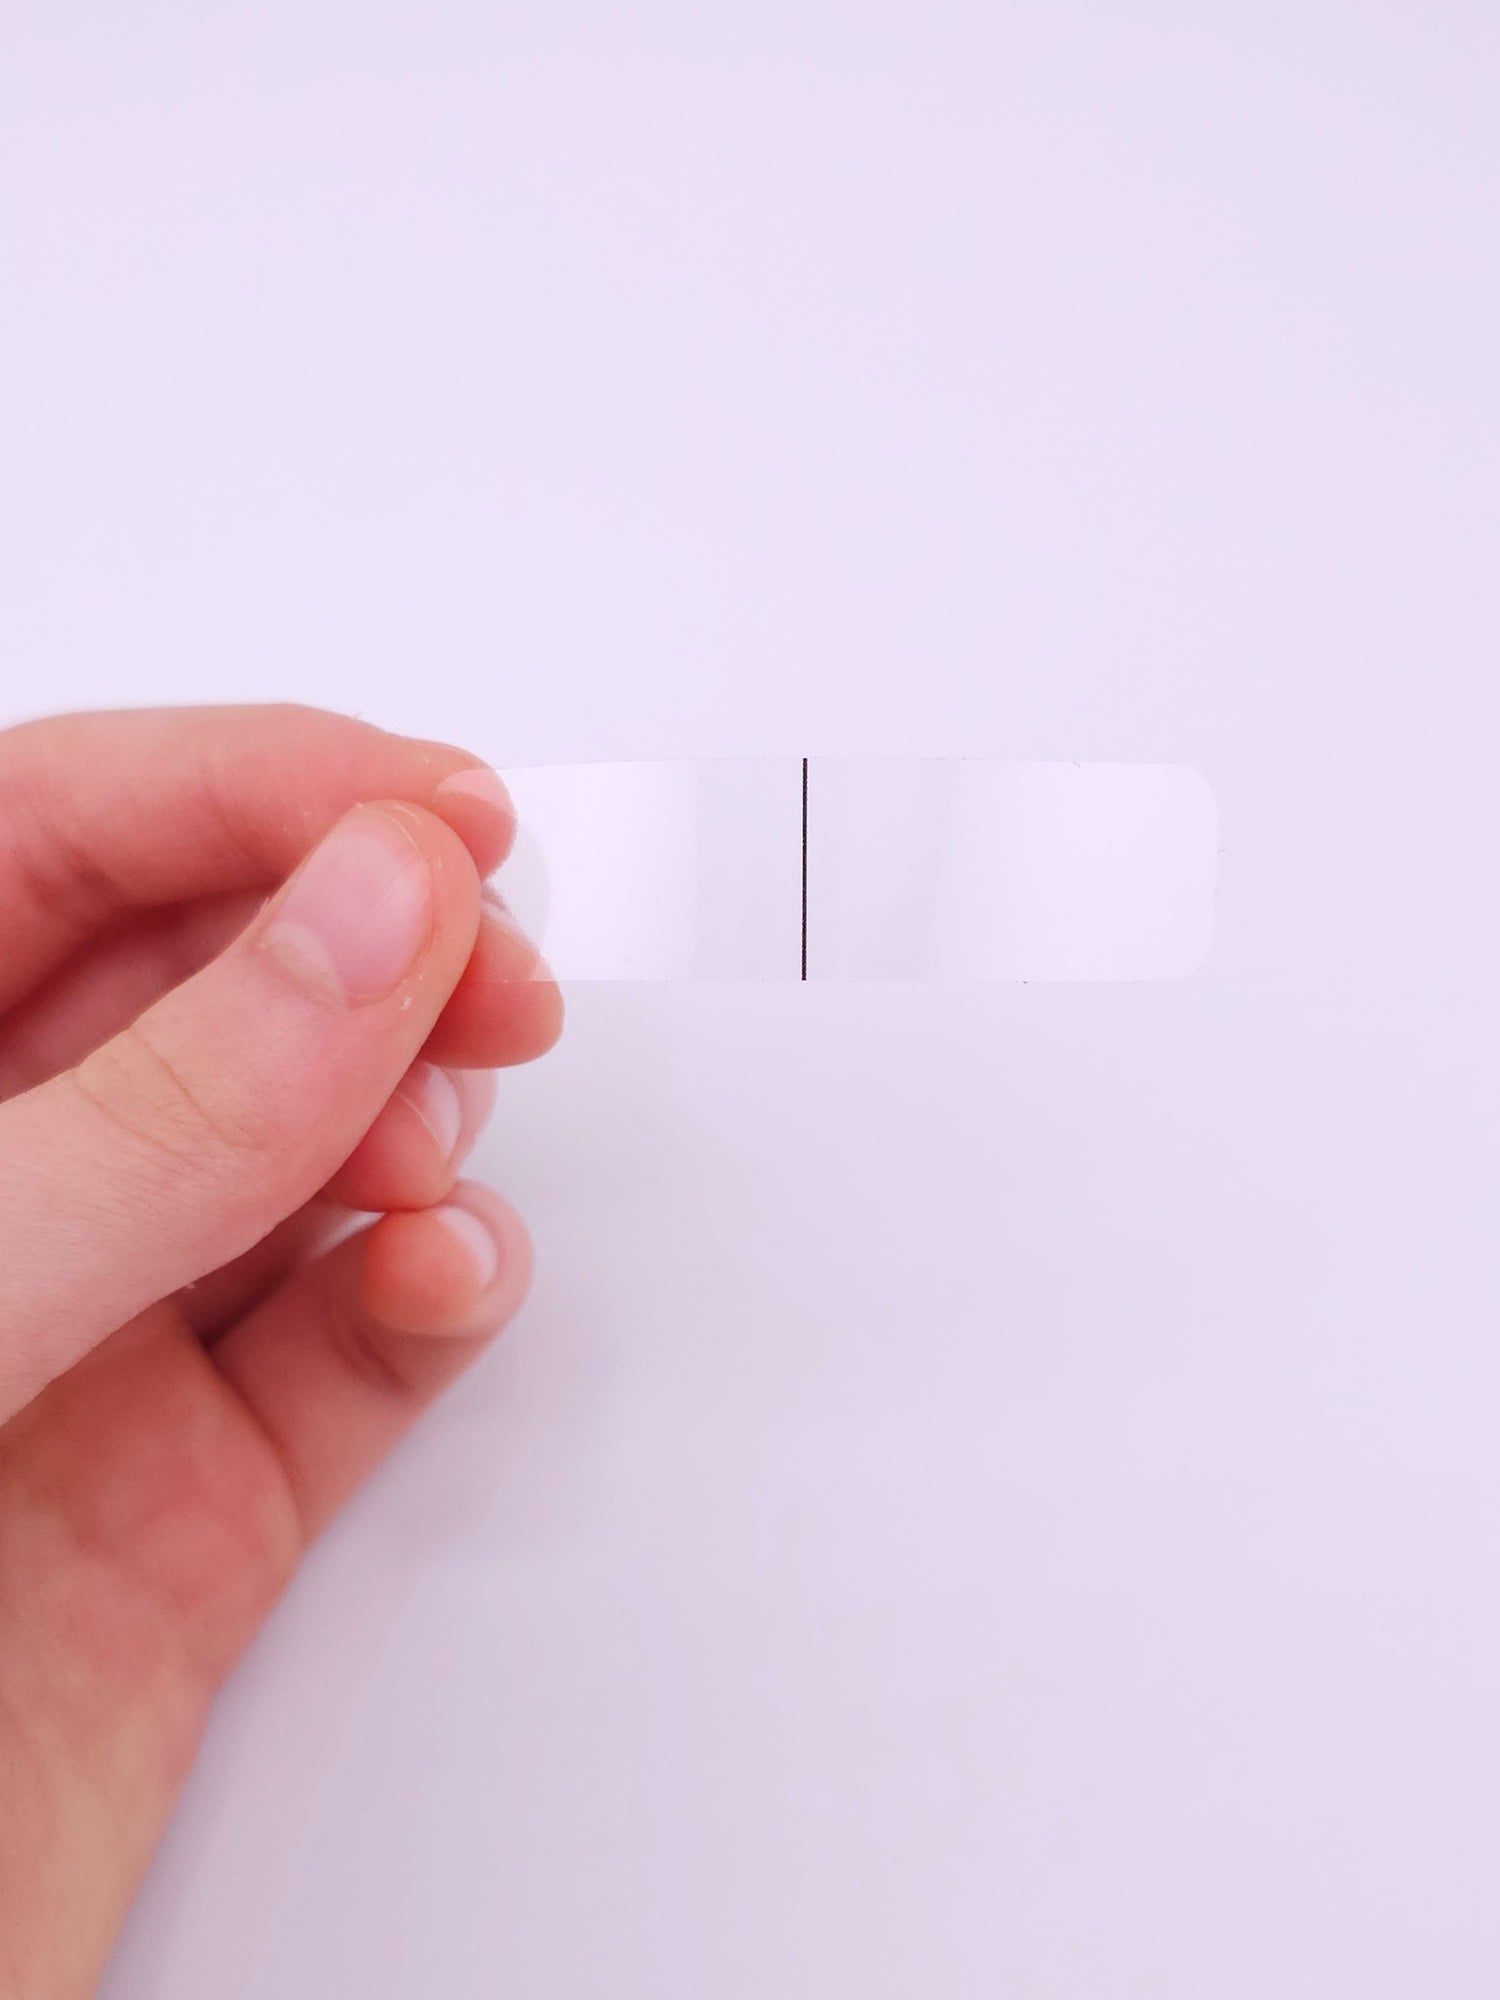
Second, carefully peel off the backing from the PremAligner label with the measurements on it, by only holding it from its left corner.

Step 3
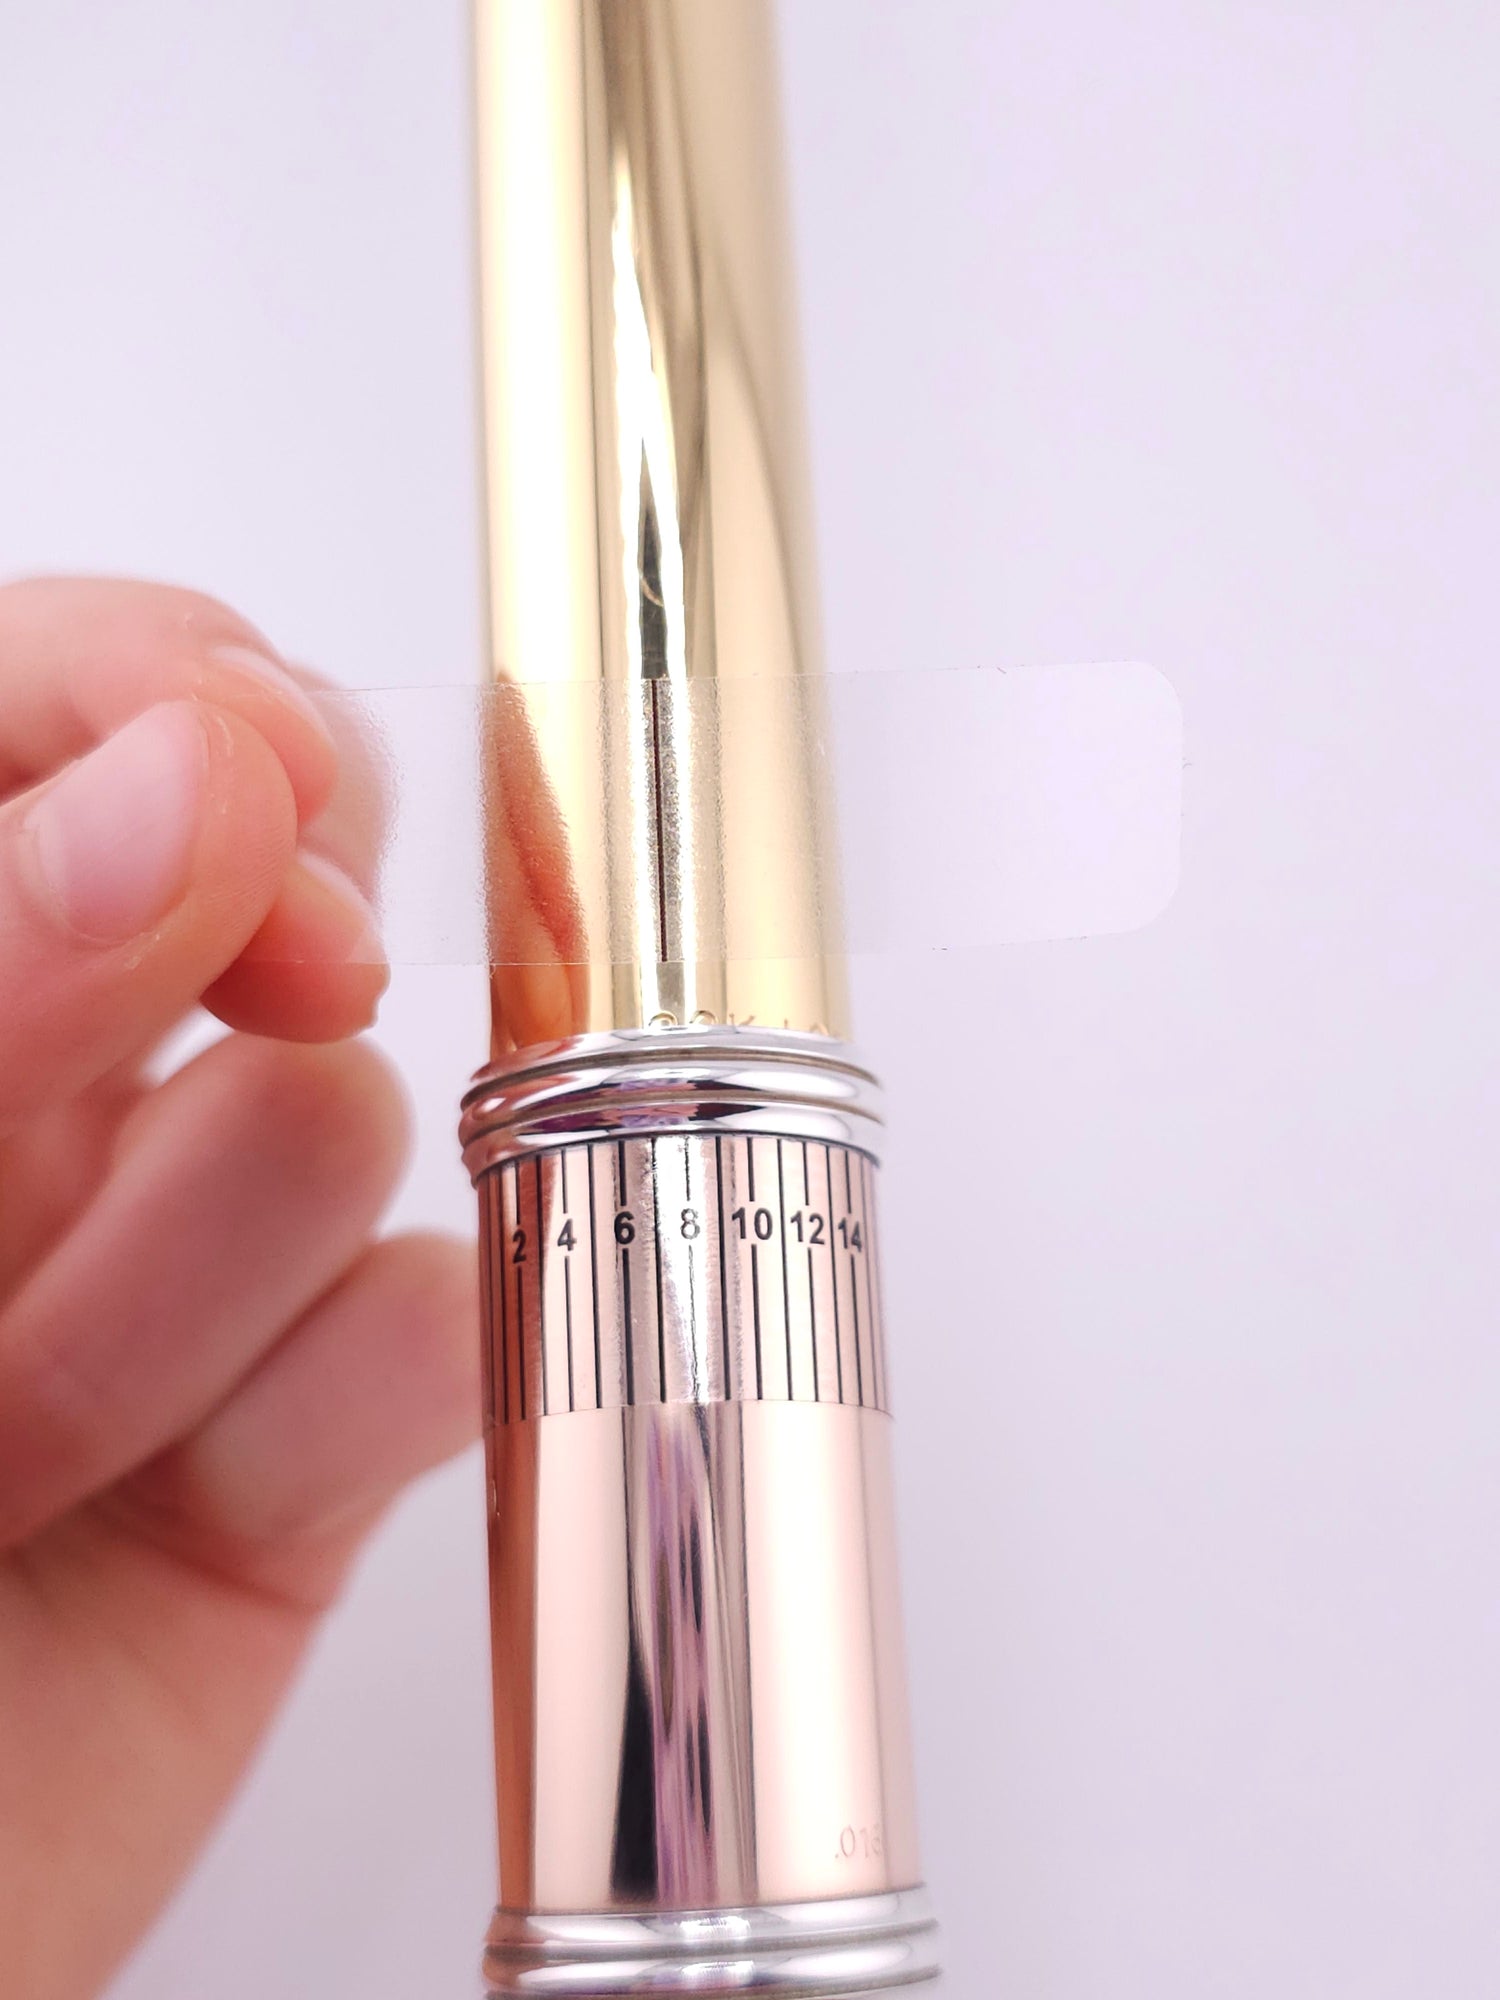
Third, affix the PremAligner with the measurements on it to the underside of the flute body on the top of the barrel. This is important so that the PremAligner is virtually inconspicuous to the audience, and therefore it will not have to be removed for any reason.
Step 4
Fourth, insert the headjoint completely into the body. Then line up the headjoint with the body of the flute as desired, either by yourself or with your teacher’s help.
Step 5
Fifth, locate the other PremAligner label with the indicator line. Carefully peel off its backing, while holding it from the left corner.
Step 6
Sixth, once the proper alignment is found, place the PremAligner indicator label on the underside of the headjoint, and choose a number on the measurement label to align with the indicator line label. We suggest you align the indicator line on the headjoint with the number 8. This is the middle number.
Step 7
Over time you may discover that aligning the headjoint to a higher or lower number results in a more optimal setting. If you change the position, take note of the new number, as you will use it as your guide each time you assemble your flute.