Step Three
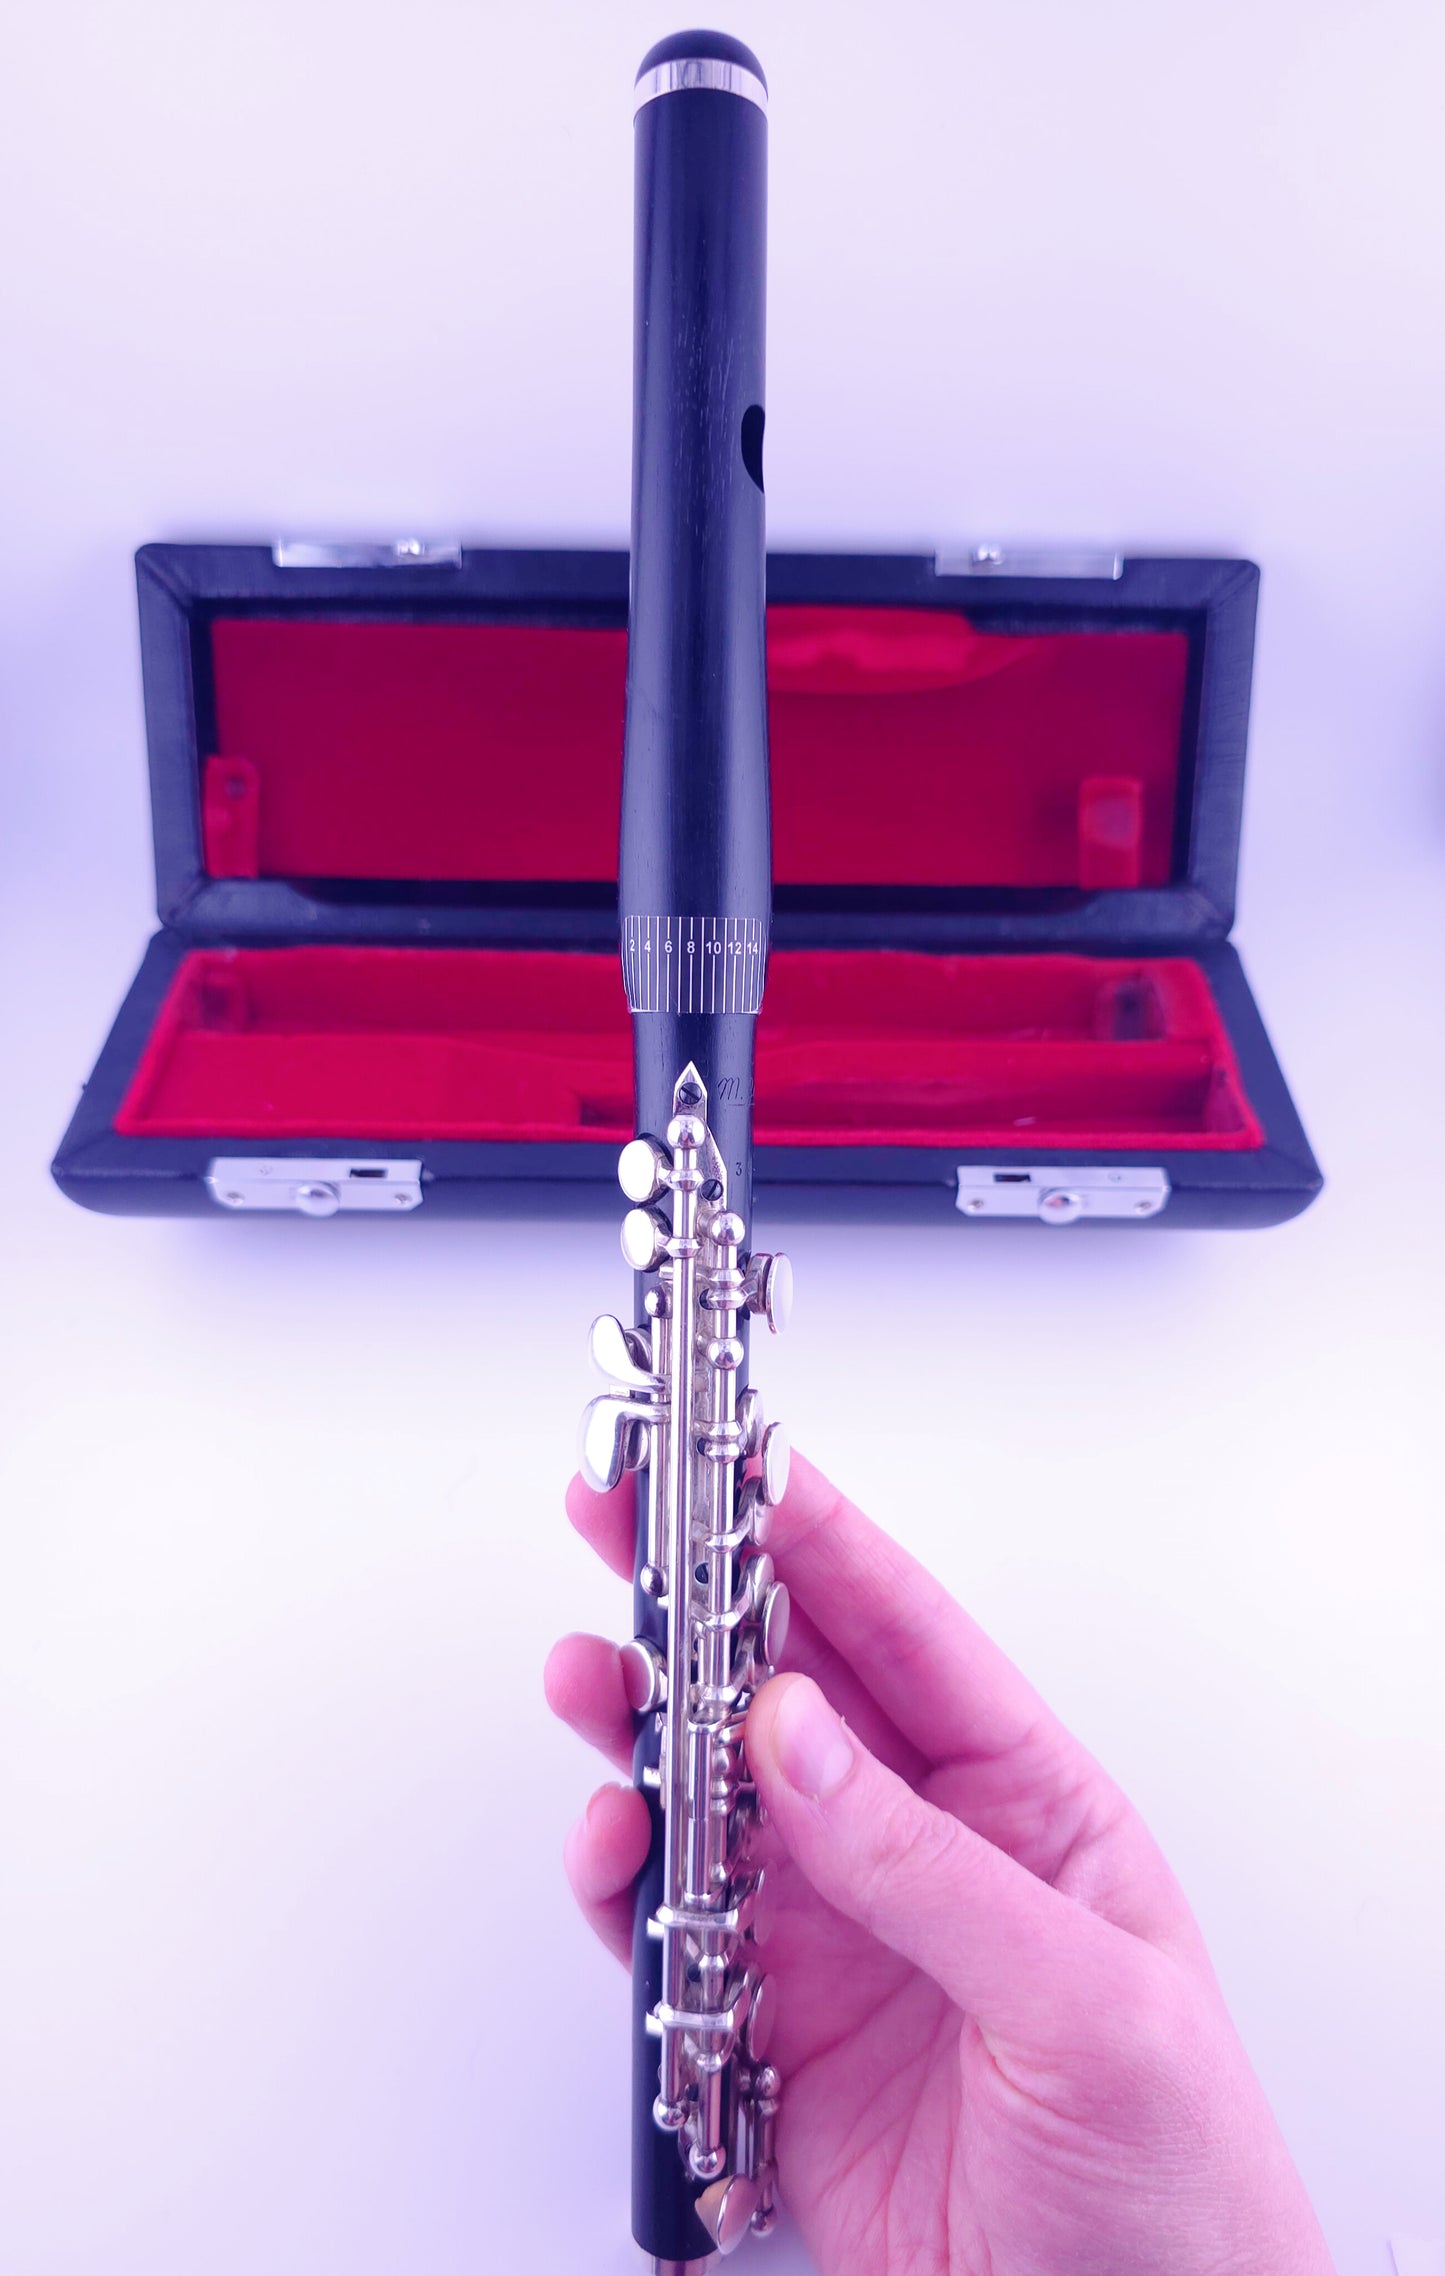
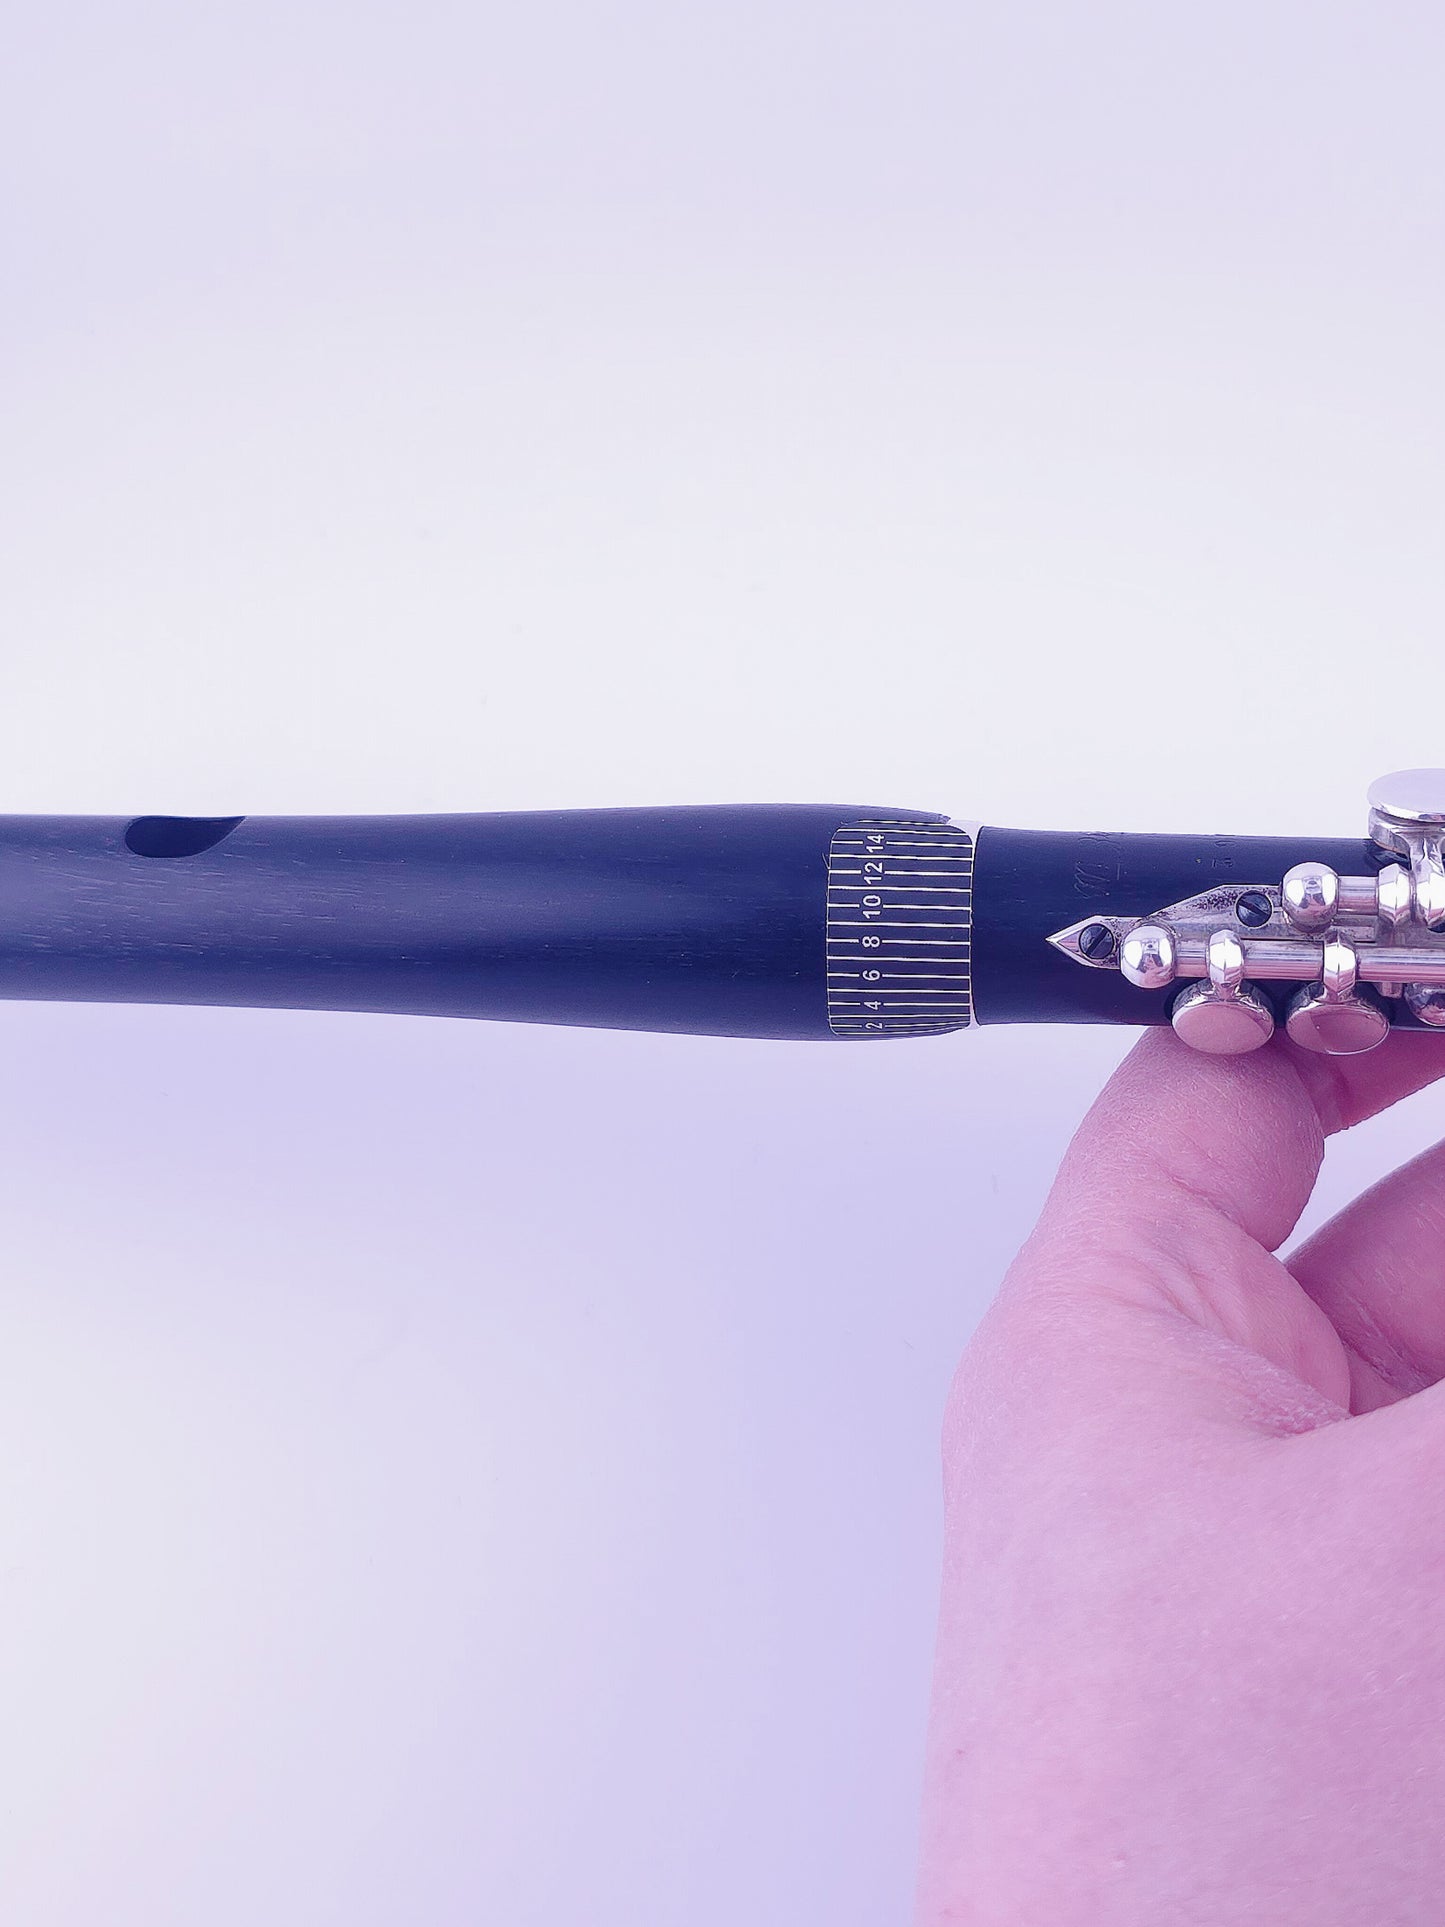
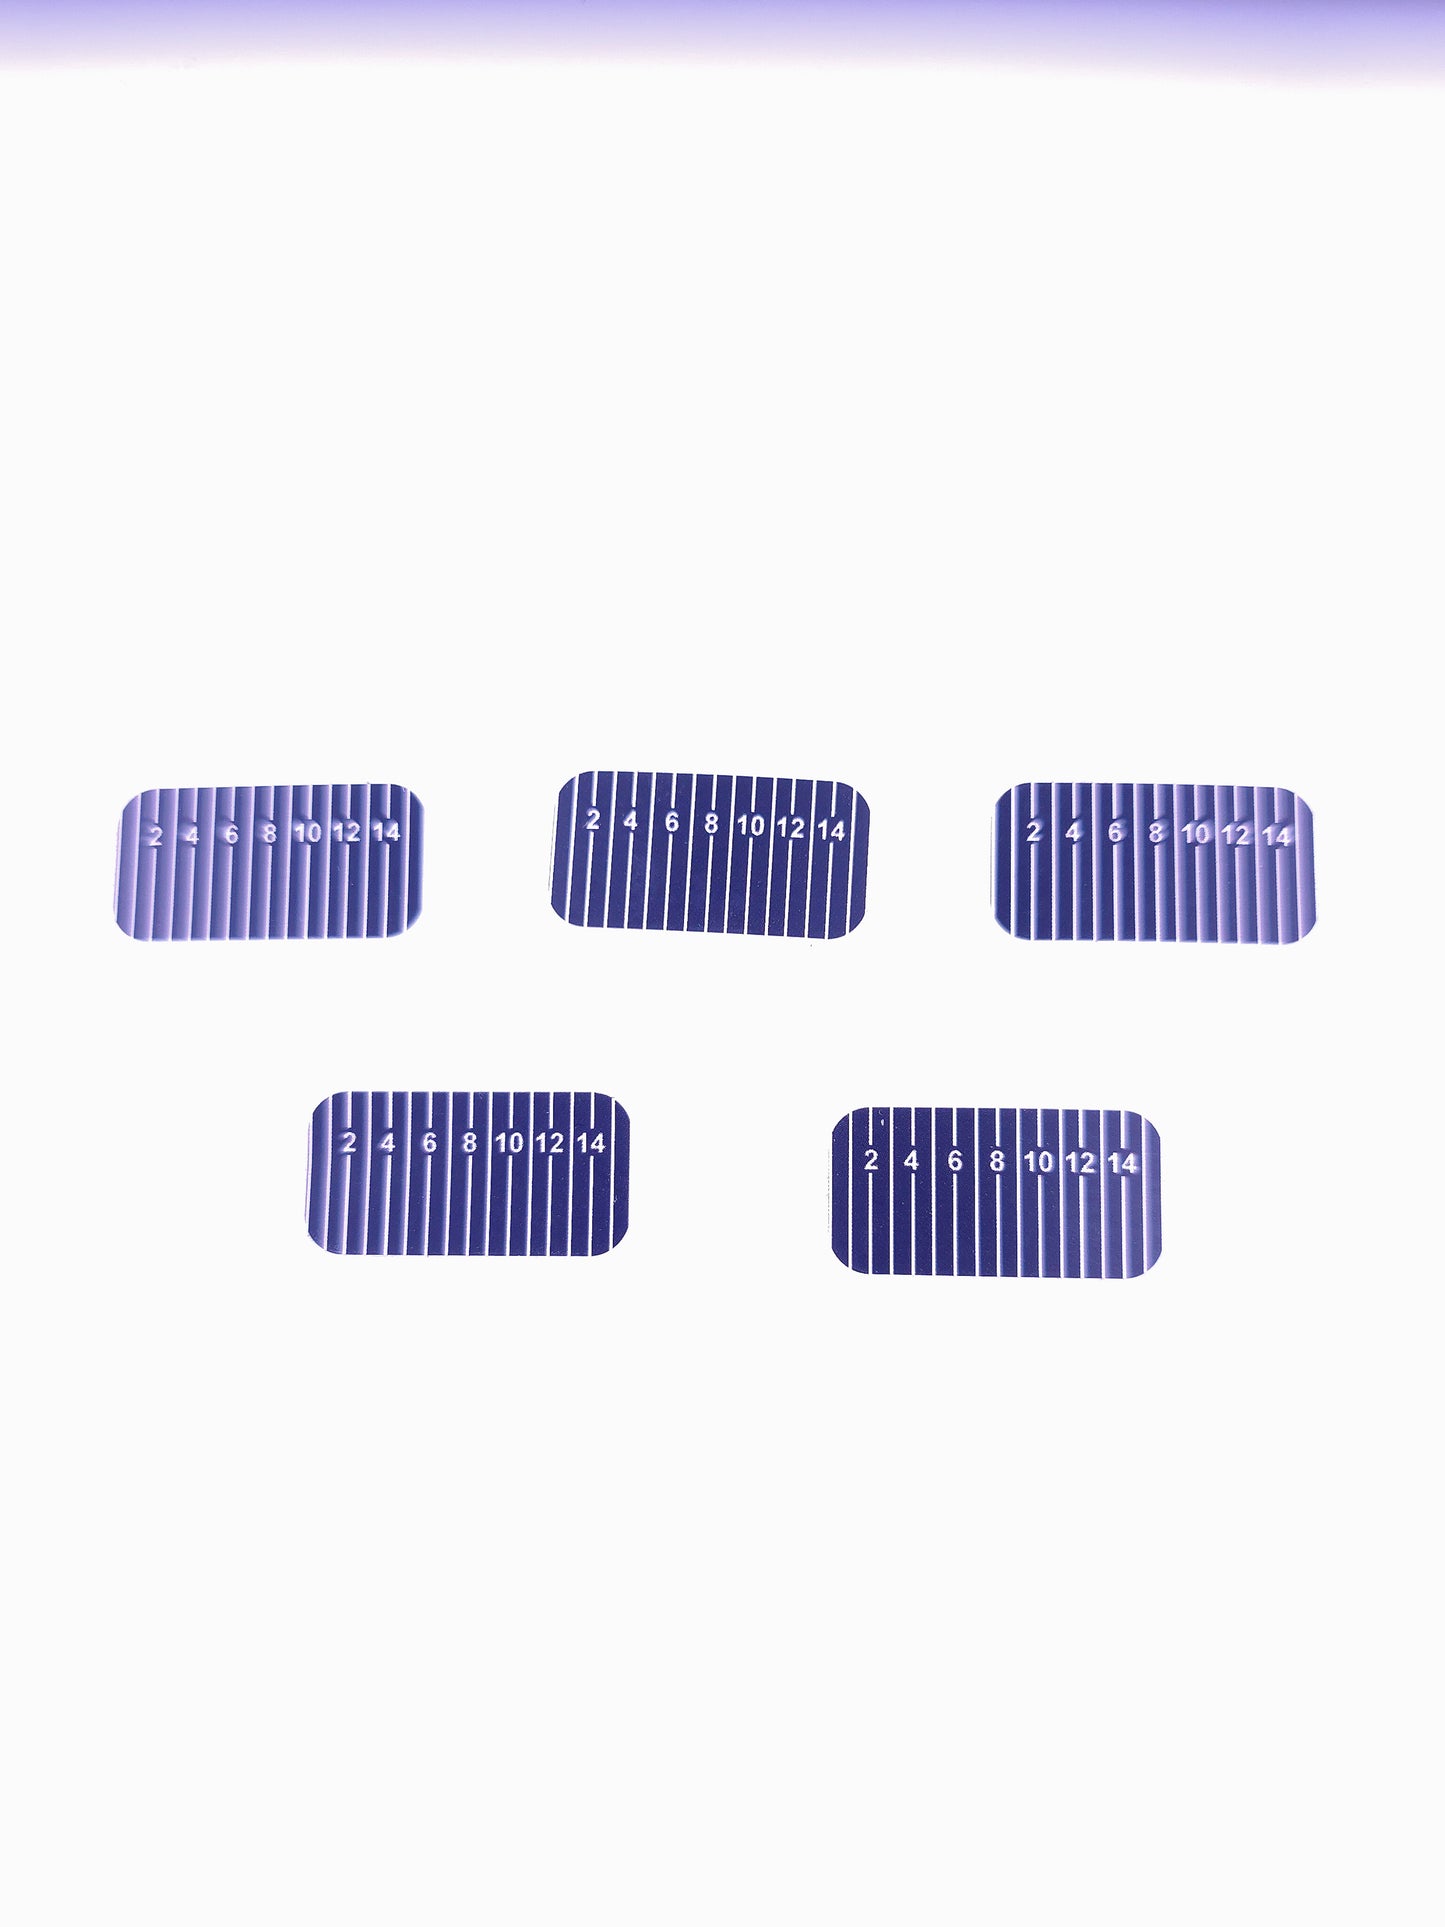
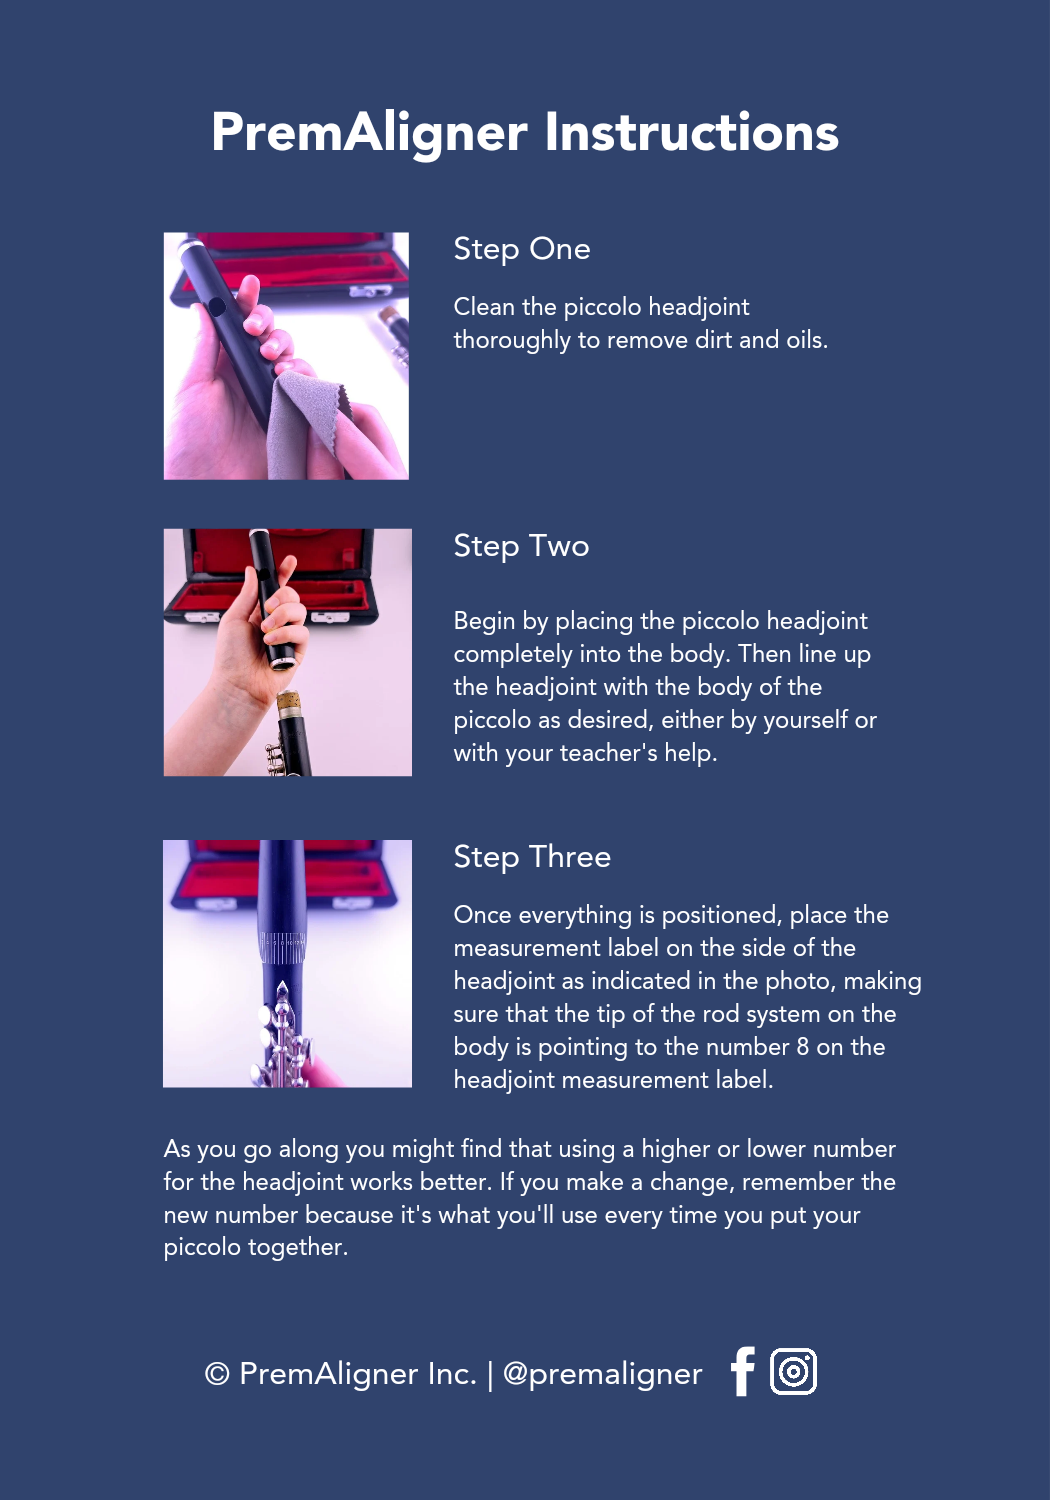
Once everything is positioned, place the measurement label on the side of the headjoint, as indicated in the photo, making sure that the tip of the rod system on the body, is pointing to the number 8 on the measurement label on the headjoint.
As you go along you might find that using a higher or lower number for the headjoint works better. If you make a change, remember the new number because it's what you'll use every time you put your piccolo together.

